Crafting with ‘blank’ dice
One of the questions I get most about dicemaking is ‘but how do you get the numbers on there?’
And it’s a fair enough question, especially considering I use a number of different fonts for my dice. It would be easy enough to assume that the numbers are set into the faces as one of the first steps. In actuality, the numbers are a part of the first steps in master dice production. Once you’ve generated your platonic solid dice forms, you select a font and inset the numbers on the faces of your shape. From there, your master dice go through the printing process, polishing, moulding and then you’re ready to pour your resin.
The short form of that answer is probability best stated as ‘the indents of the numbers are part of the moulds, and then the artist just paints a colour into them.’
But what does this have to do with blank dice? Well, when you want to make a design that is delicate or prone to rubbing off the surface of the faces when the dice are normally used, it’s common practice to cover the design in a shell of clear resin. The easiest way to do this while preserving the form of your dice and clarity of numbers is to make your design on slightly smaller, numberless dice form. The place the finished design into your standard (numbered) dice mould and fill with a clear or slightly tinted resin for a second round of curing.
This double-pour technique typically doubles your initial cure time, however. The process looks something like this when mapped out.

prepare the blank moulds with colours, foils, inclusions, etc
Mix and pigment the resin, then fill your moulds. Set aside in the pressure pot to cure for the recommended time (mine takes 12-24hrs depending on the weather)
Demould your blank dice, and decorate with paint, stickers, chalk, glitter or whatever your delicate designs are. If using something wet like paint, UV resin or glue, be sure to give it enough time to fully cure before moving to the next step
Prepare your standard numbered moulds, mix and pigment your resin. Quarter-fill your moulds with the resin and torch the surface to pop any bubbles. One at a time, dip your blank dice into some resin to lubricate the surfaces and gently push them into your moulds. Lubricating the blanks with resin is important to reduce the chance of slicing or tearing your moulds with the edge of your blanks.
Top off your moulds with extra resin, seal the moulds and cure in your pressure pot again for the recommended time.
You may now demould your dice and finish them as you normally would, without fear of rubbing or sanding off your designs! Yay!
A thing to note when making your initial masters for the blank inserts is to take the size of your original (numbered) dice, and subtract twice the number depth. This will ensure your blanks fit perfectly into your normal dice moulds, without pushing the faces out or floating off-center.
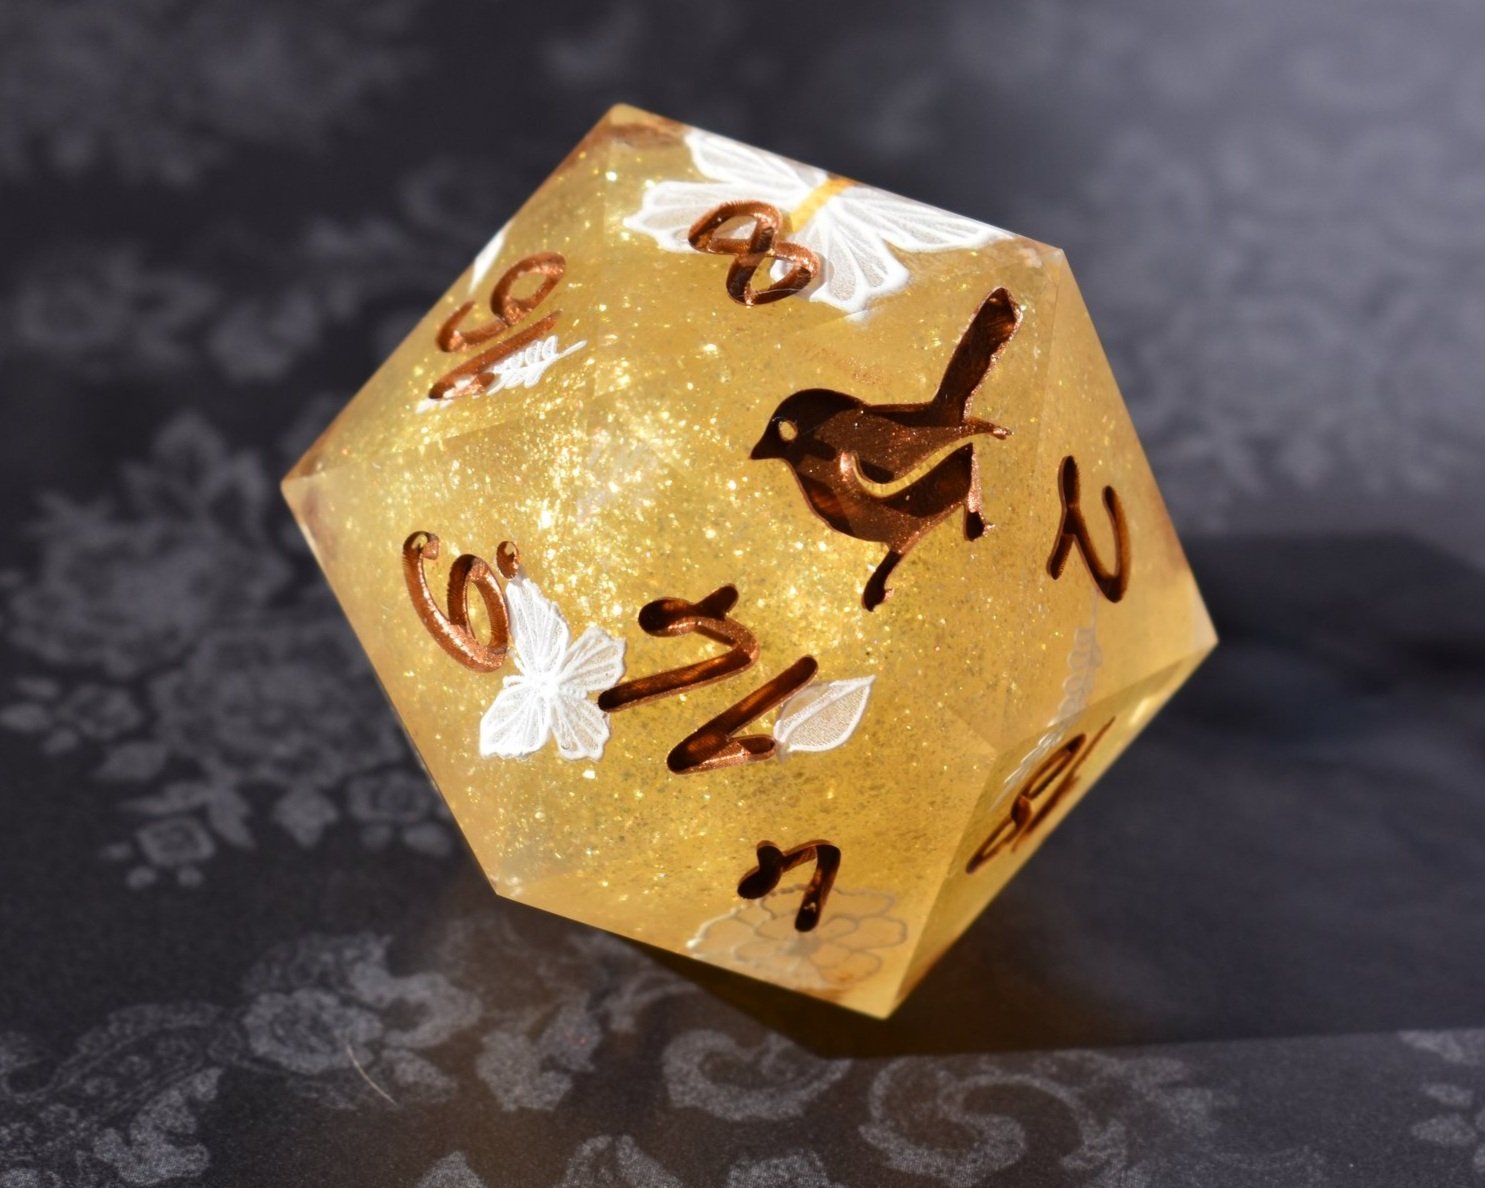
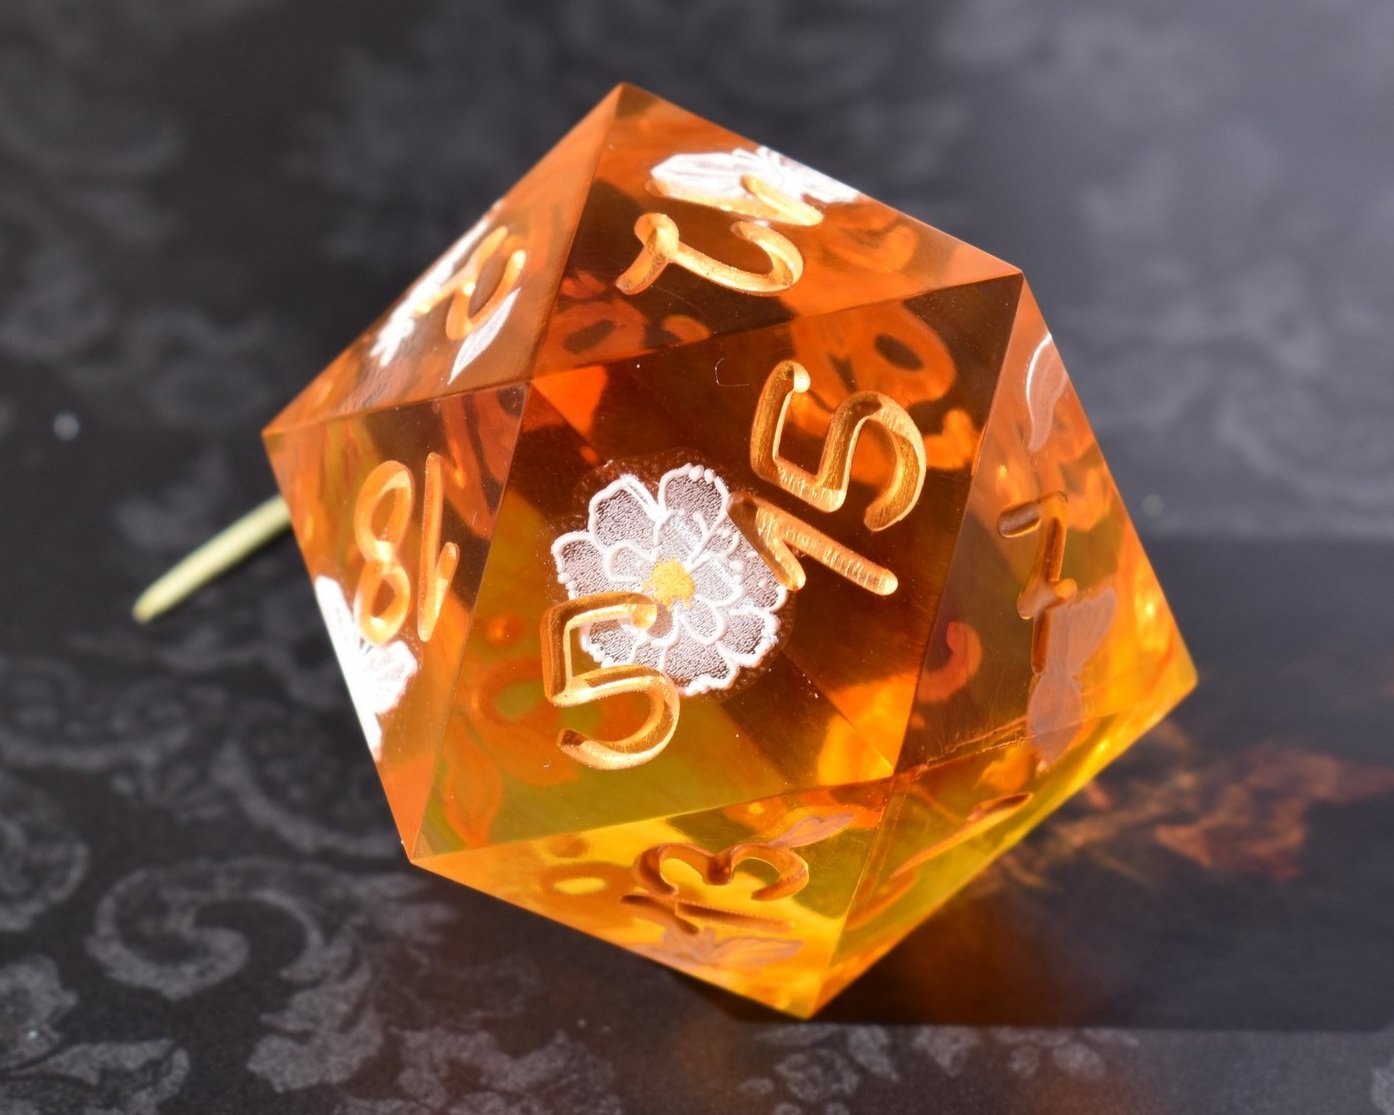
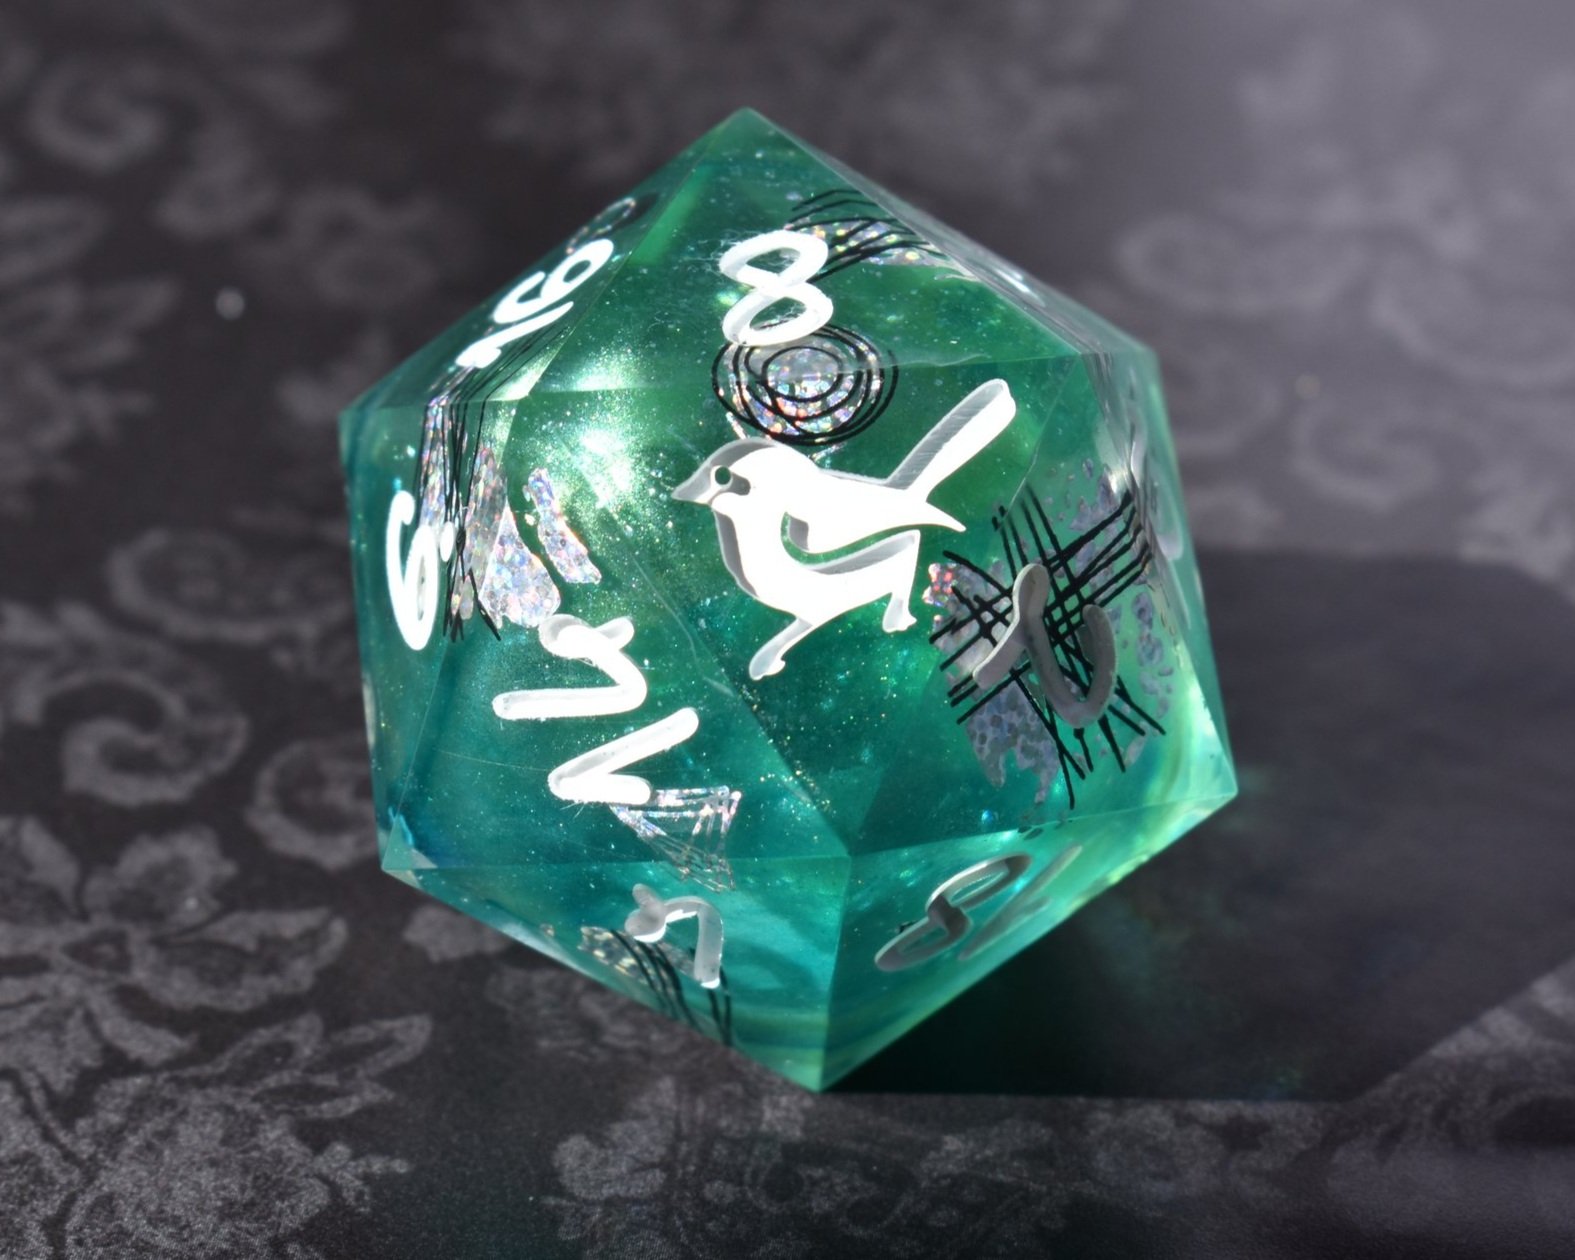
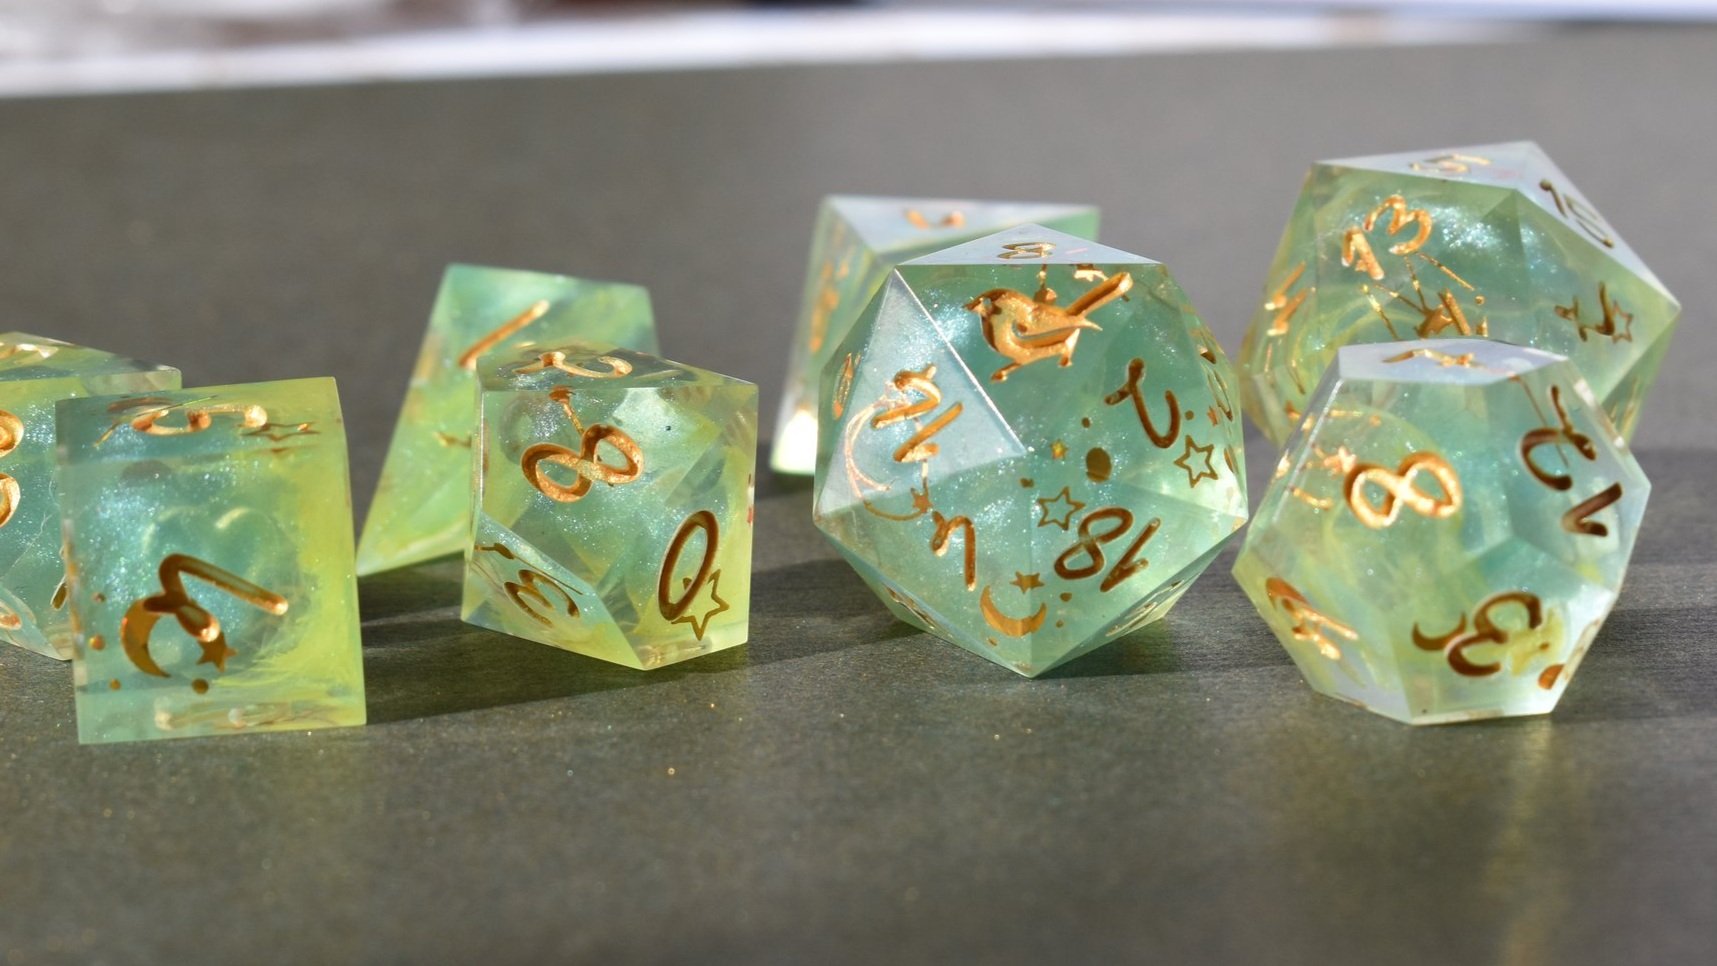
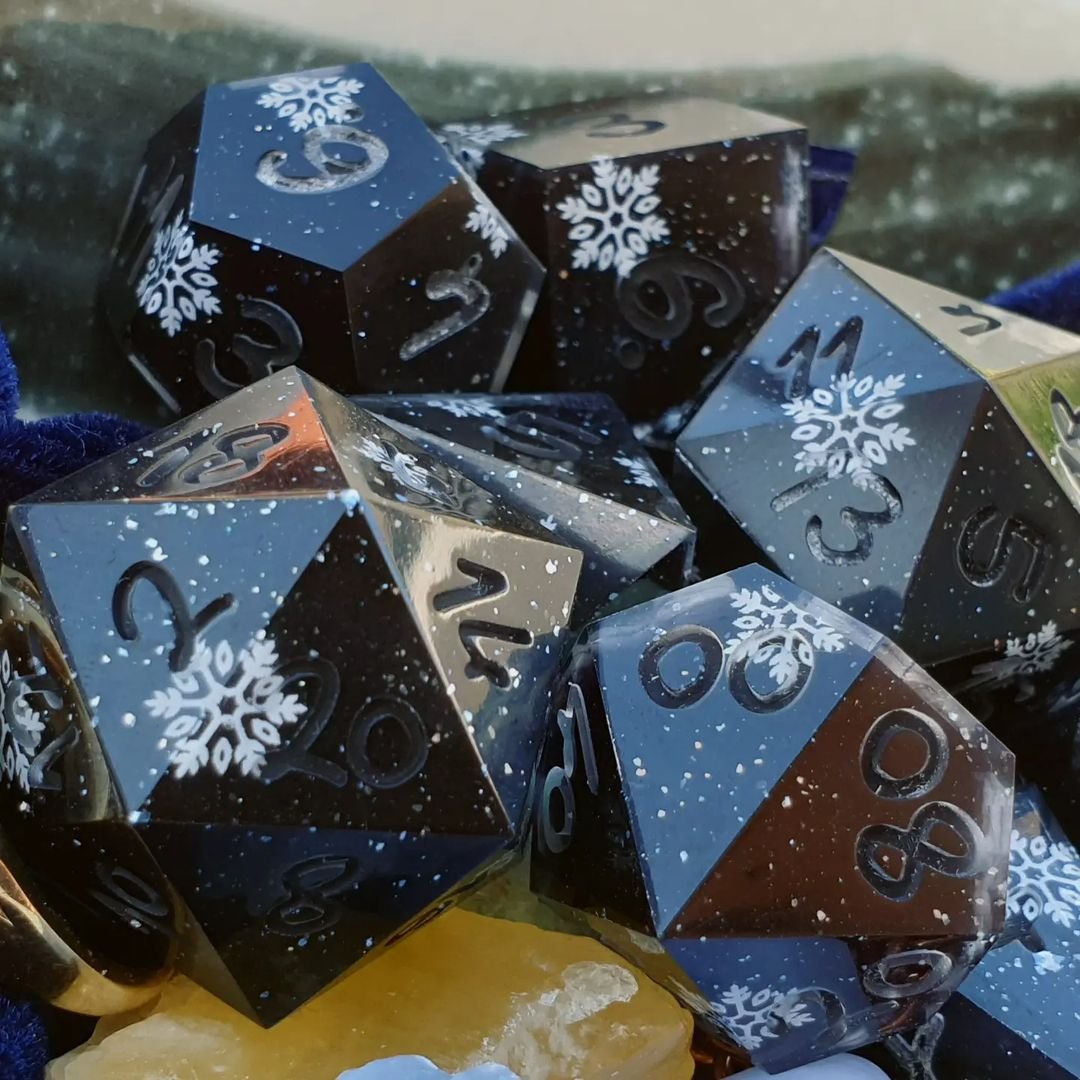
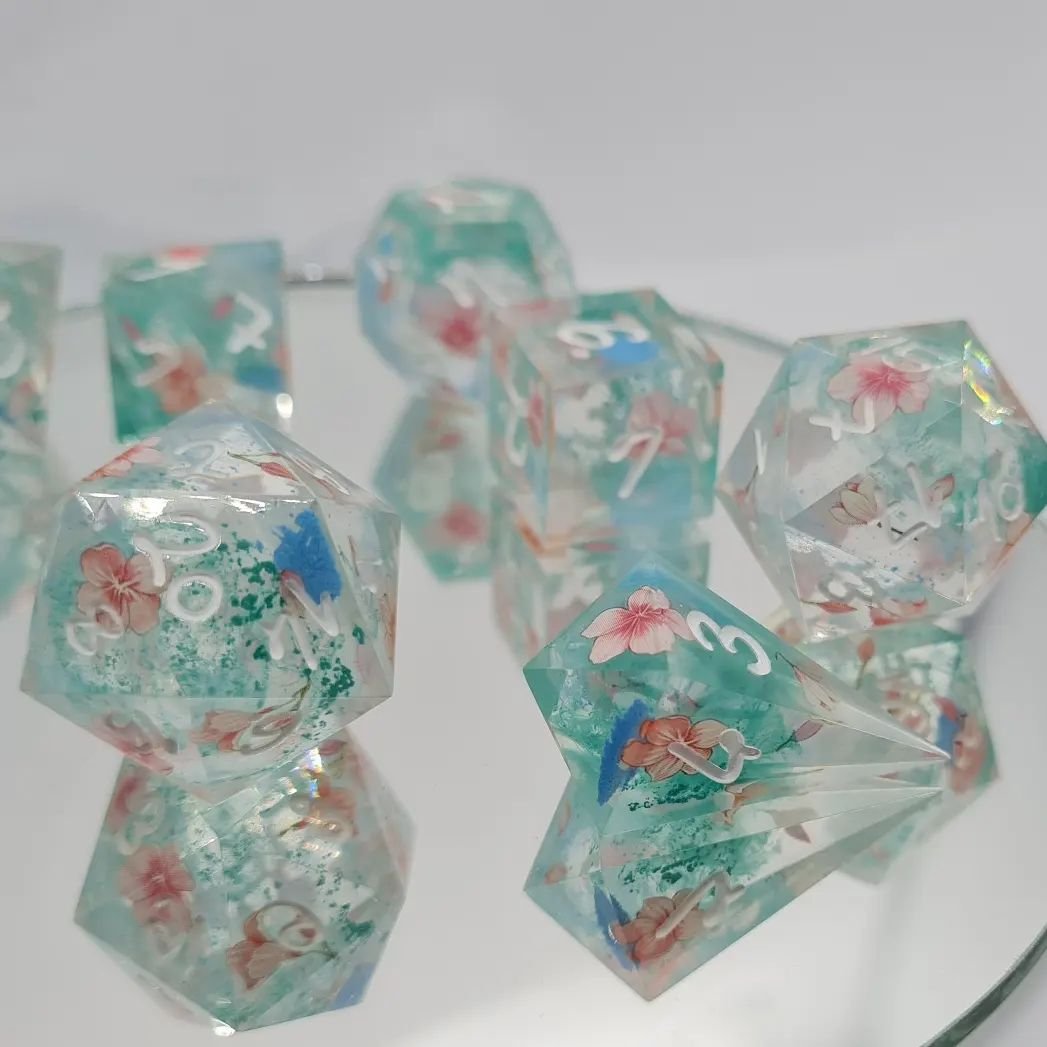
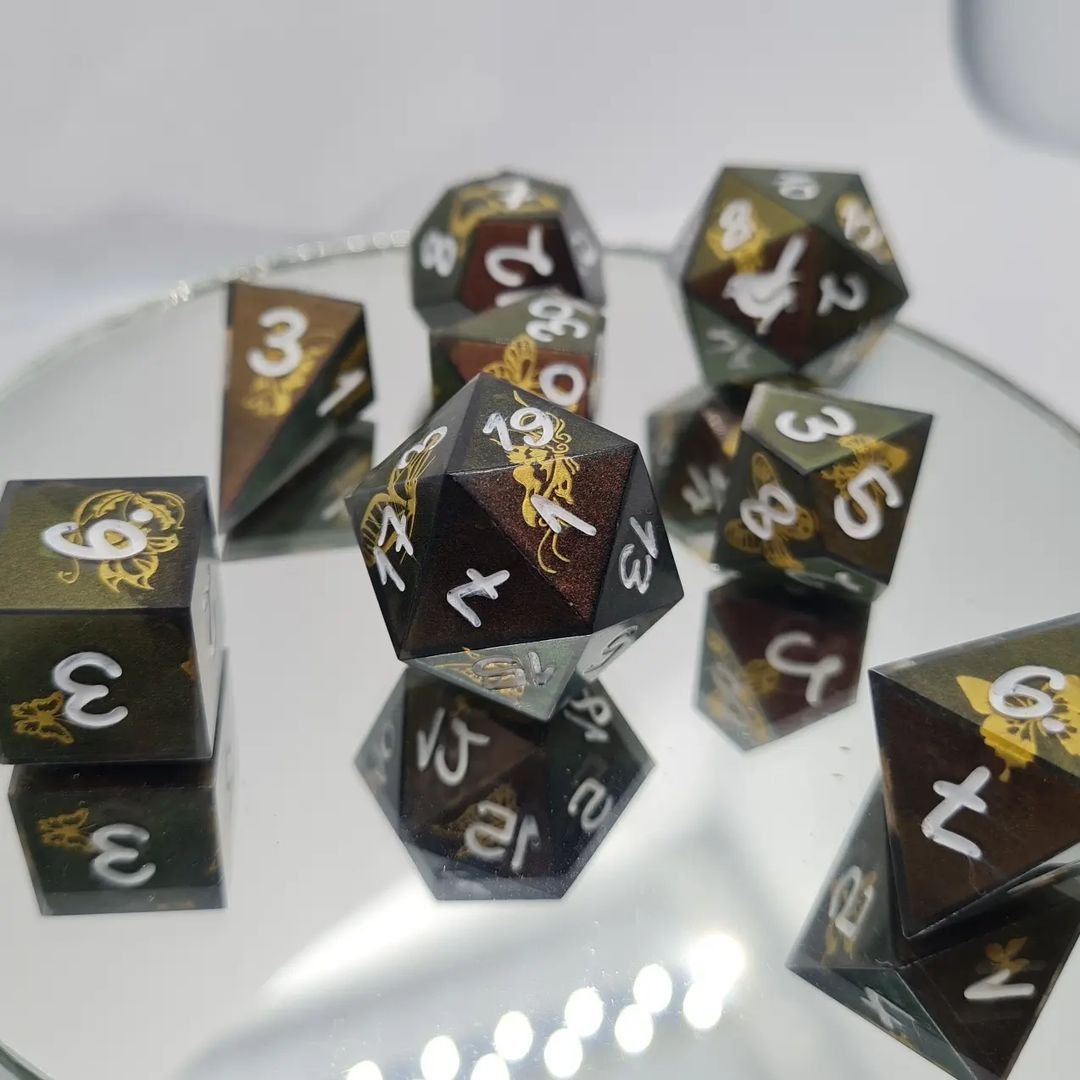
Check out the Gallery below to see some samples of dice made using blank inserts.
Gallery